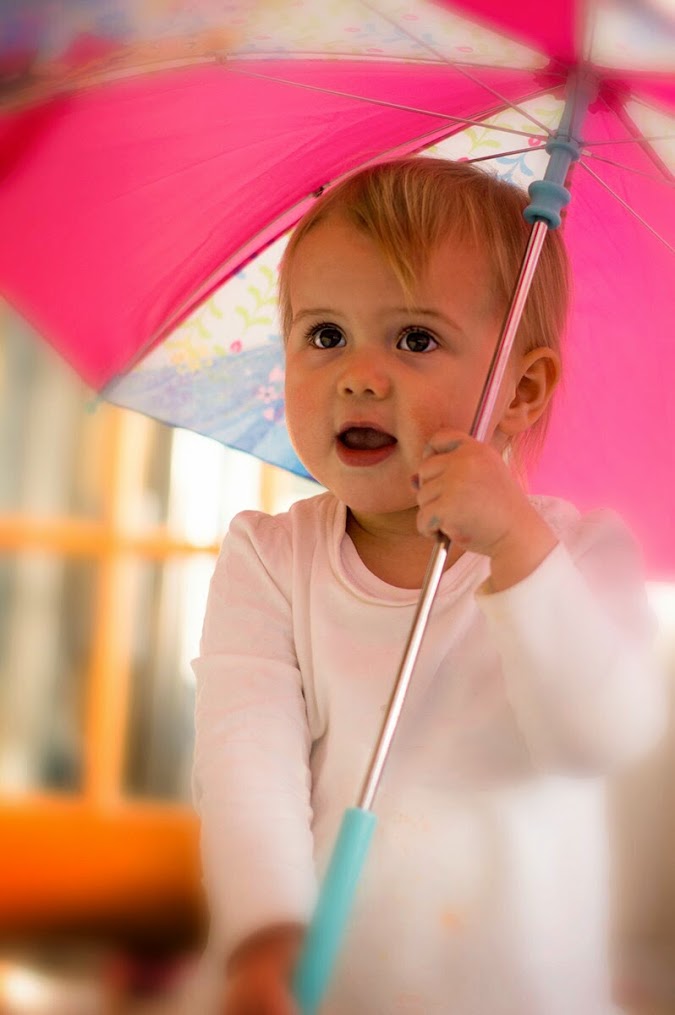
Partly because I wanted to be able to take this particular photo through as many steps as possible, but also because I was hoping to create a picture that was unique from my other portrait shots, I decided to do a bit more tinkering with this shot.
Lightroom has already done a great job at correcting, cropping, brightening, and fine tuning, but to add any type of effect to an image you need to export your photo out of Lightroom and start playing in Photoshop instead.
With my initial concept for this image still in mind, I wanted to get an effect that would enhance the “dreaminess” of the image. There are a whole host of actions you can take to achieve a massive variety of effects in Photoshop without having to understand too much of the technical aspect of how to achieve your desired results. If you google “dreamy light Photoshop action” you get about 50,000 results, so plenty to choose from!
To run an action you simply download a small file containing the action which then appears on the Actions menu within Photoshop, just click the play button, and your image will transform before your eyes in seconds (or minutes if you have a slow machine or a particularly complicated action with lots of processes).
After playing around with a couple of actions I couldn’t find quite what I wanted, so I decided I’d experiment with a bit of a blur. Photoshop has a lot of built in blur styles, and you can of course download a blur action which will use the built in styles in a predetermined way. This is great if you want to regularly blur things in a similar style. You can even record your own actions (like recording a macro) to save a bit of time if you plan on repeating an effect again.
As I wasn’t really sure what I wanted to achieve I started applying a few blur types until I got to Gaussian Blur. By selecting an ellipse over the area that I wanted to remain un-blurred (or sharp as people with better English skills might say), and then inversing that selection it allowed me to apply the blur effect just to the edges of the shot. Adding a feather to the edge of the selection ensured there wasn’t a sharp transition between the sharp and blurred areas. A slight reduction in the opacity of the blurred layer to make the effect more subtle, and hey presto.
Here’s the final image.
Looking back at this now I was really pleased at each incremental stage, and felt I was improving the photo, until this final shift. I think I might have over done it slightly, and the original image actually already had quite a nice soft focus to the edges so the extra processing might have been a little bit much.
I guess that’s just one of the many beauties of digital photography, you can keep pushing on until you go that bit too far, then a quick undo, and just take a little step back!
RL
